
I recently put together a simple but beautiful Valentine’s themed backdrop in my home studio. It was really fun to do, easy to assemble (my 5 year old helped me), and the best part was it was cheap! I’ve had a few people ask me about how I went about setting this up, so I thought I’d create a blog post sharing how I did just that! I was able to include some little behind the scenes photos too.
What You’ll Need:
A light source (preferably a large window), a solid coloured wall, 9-12 foil heart shaped balloons, balloon pump or air compressor, and tape.
You may also need: Sheer curtains, confetti, props, music
STEP ONE:
The first thing you’ll need to do is find your location. Ideally, you’d like to choose a location in your home that has a nice LARGE window that allows a nice soft light into the room. It is important that the light is not direct light, but is soft and diffused. You can watch for the best time of day for your space or if you have to work with direct sunlight, use some sheers to help diffuse the light. You can find a good set at Walmart.
In my case, I am using my home studio space to set up my space. I am using Savage Seamless paper (in white) for my backdrop. You can use the nearest wall to your light source (large window) and just make sure it is clear of any frames, plants, or clutter. You’re going to need 7-10 feet of space on your wall.

STEP TWO:
Now that you have your space organized, it’s time to inflate the balloons! I bought these cute Anagram brand heart shaped foil balloons at my local Buck or Two store. They come in packs of four and are approximately 14 inches. There are a variety of colours available and I chose to use Pomegranate, Flamingo, and Platinum for my design. If you don’t have time to go out shopping, Amazon has plenty of great options. I prefer these ones though as they come in small quantities, so I only buy what I need and can mix and match the colours. Plus, I don’t have to wait for shipping! Now, I paid about $8 per package, but you may be able to find them for less. So, in total, my heart shaped balloons cost me about $24 (CAD).


Depending on the size of your space and your layout, you’ll want to use 9-12 balloons for your project. It is important to note that we inflated these balloons with air, NOT helium. In this case helium in not needed.
I find that the best way to inflate balloons for projects like these is to use an air compressor. It is super fast! It took me about three minutes to do all of these balloons and I didn’t break a sweat! However, if you don’t have access to an air compressor, you can use a balloon pump.
You won’t be able to blow these up without a pump because you need to insert a nozzle to blow them up. These balloons have a self-adhesive closing. You’ll want to fill them 98% full so that you don’t over-fill them. But, you want them nice and full a rounded so they look best for your photos. Once you remove the nozzle, they’re sealed. Just make sure to give them a good pinch to ensure the seal.

STEP THREE:
It’s time to build your backdrop!
Before I began, I laid out all of our balloons on the floor. My son and I decided to do a pattern of the different colours in three rows of four. I already knew that I’d want my backdrop to have a wider width, so that’s why I chose this layout. If you’re photographing taller kids, you might want to your layout to be taller and more narrow. Or, you may choose to do random placement rather than a grid style like I did. Have fun and get creative! Have your children help you!

Once you know the layout you want, place the balloons on the wall. I simply used two pieces of Scotch tape on each of my balloons and lightly placed the a few inches apart. Once your balloons are where you want them, use a last piece of tape to tape the “tail” of the balloon to the back. I found this gave a nicer shape to the balloons and was less distracting.


STEP FOUR:
Now your’re ready for some fun!! Get your favourite kiddos or family members and take some beautiful, one-of-a-kind Valentine’s themed photos! Feel free to use some props or special outfits. You can take it one step further and add some confetti of even glitter! We also made sure to play some favourite songs on Spotify while we danced around and took photos.
Take as many photos as you can! And, don’t forget to get in front of the camera with your children too! They will love to take photos of you just as much as you love taking photos of them! And, they will cherish these photos too!
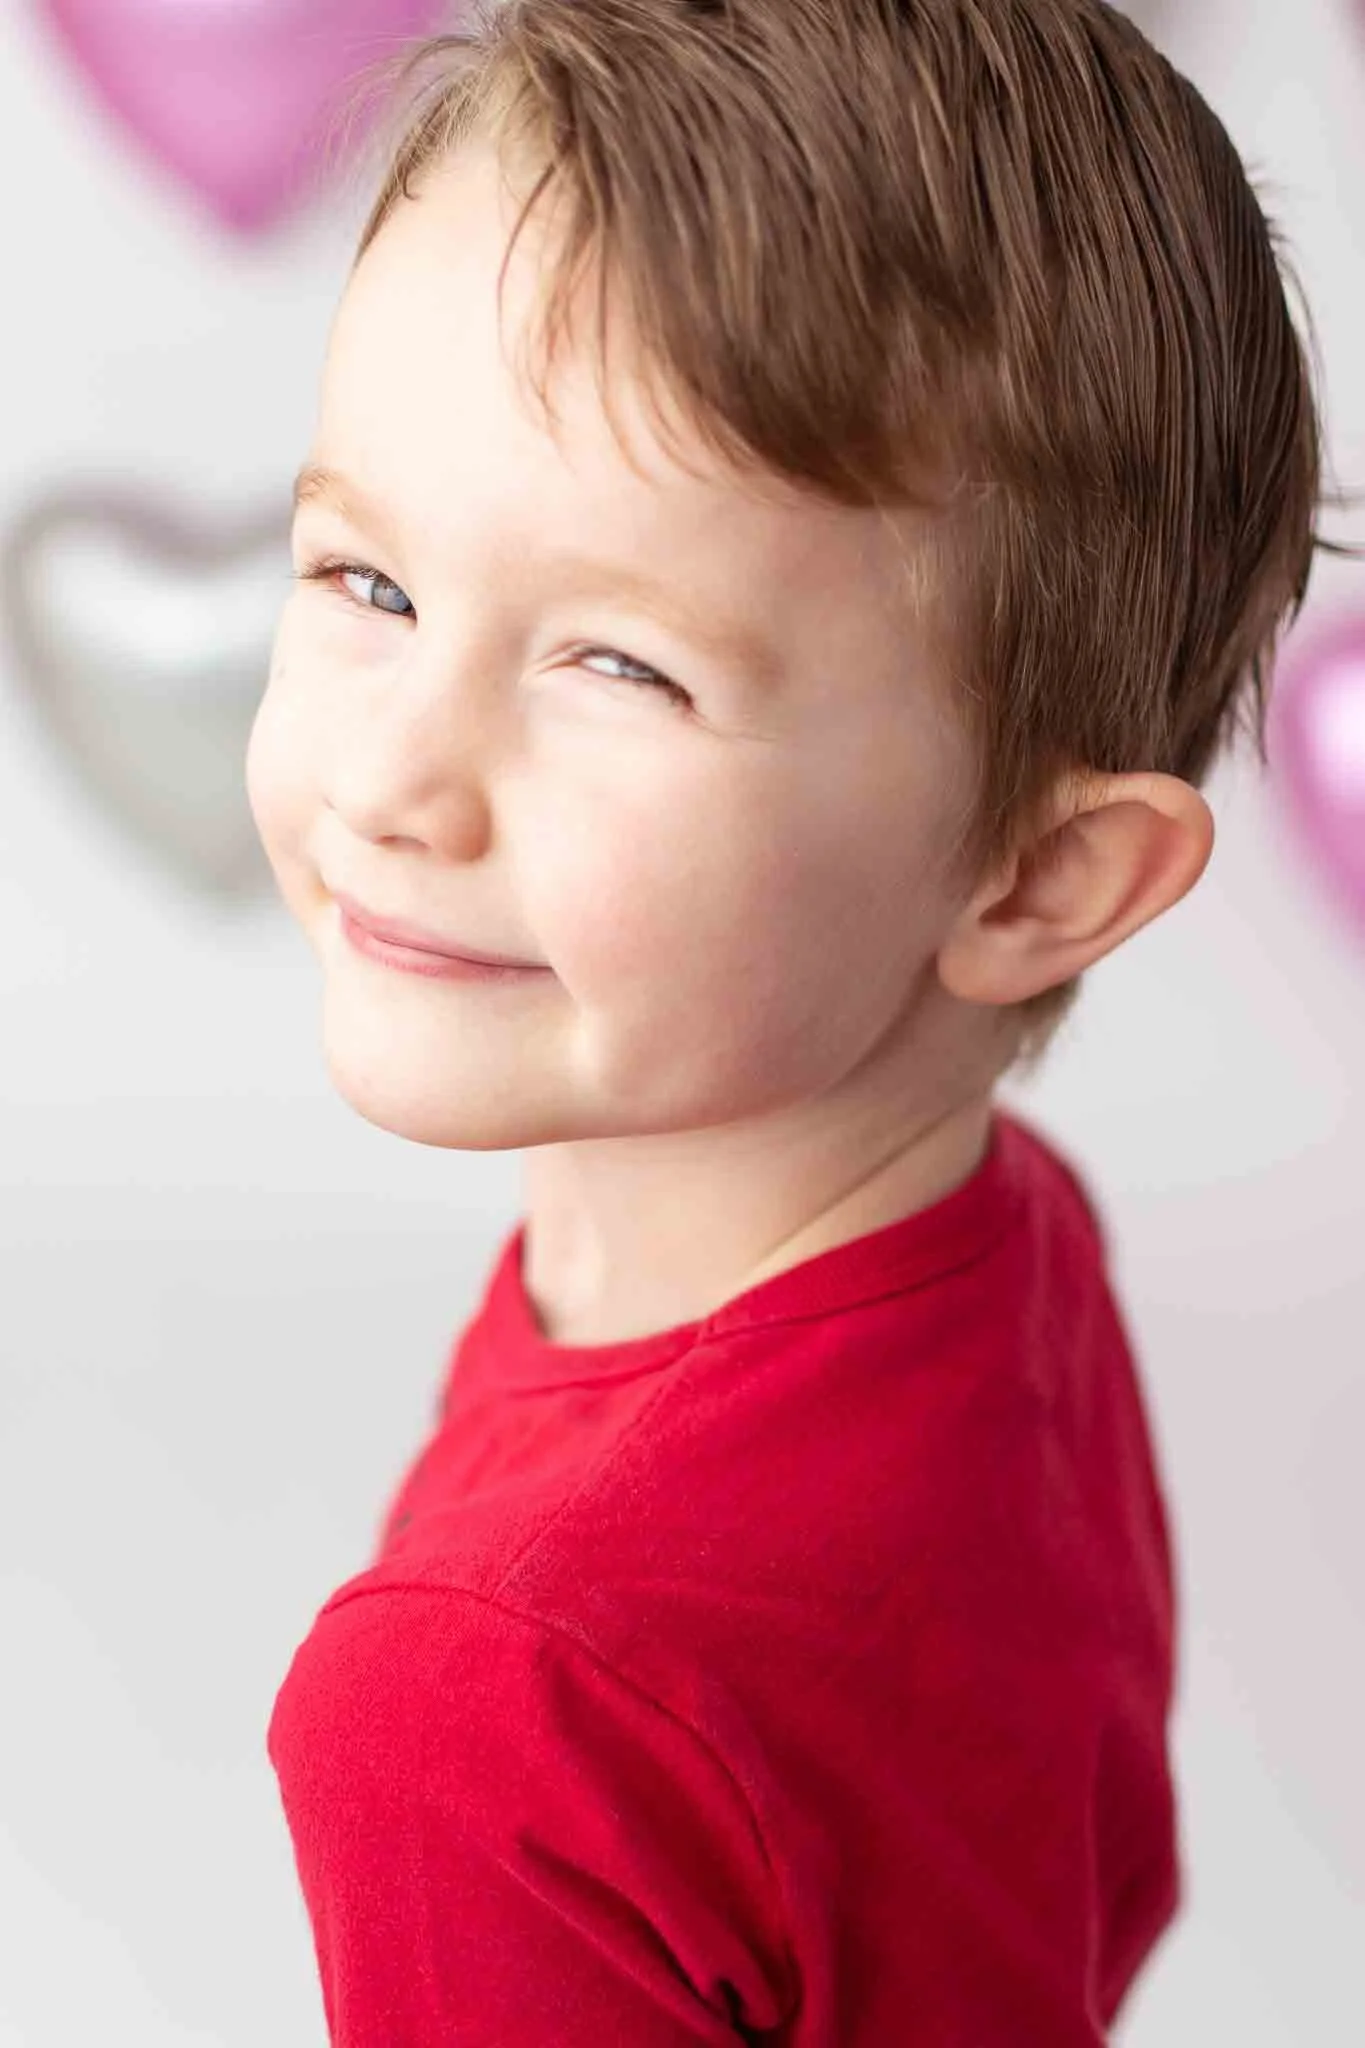
Here are some of the photos we captured with our heart shaped balloon backdrop!


Well, that’s it! I hope you liked my tutorial for the DIY photography project. And, I hope it was easy to follow along. Feel free to leave your thoughts in the comments below. If you have any questions, feel free to email me!
Karena